tile cleaning

Edwardian Hallway Before and After Restoration Harpenden

Edwardian Tiled Hallway Rebuilt and Restored in Harpenden

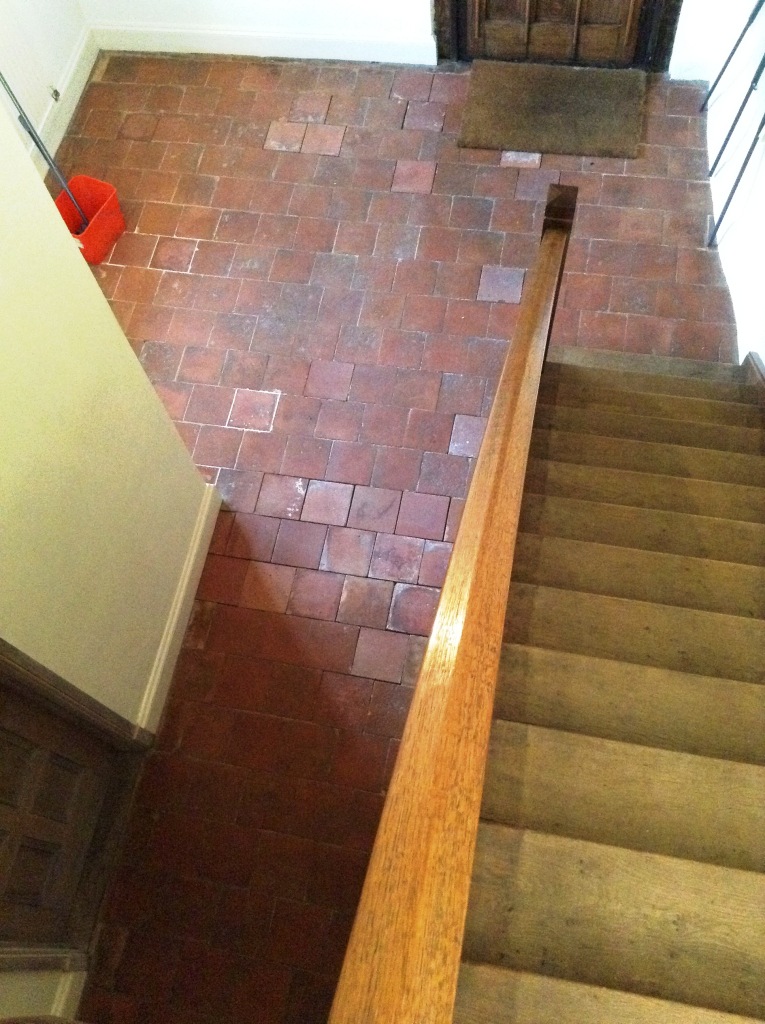
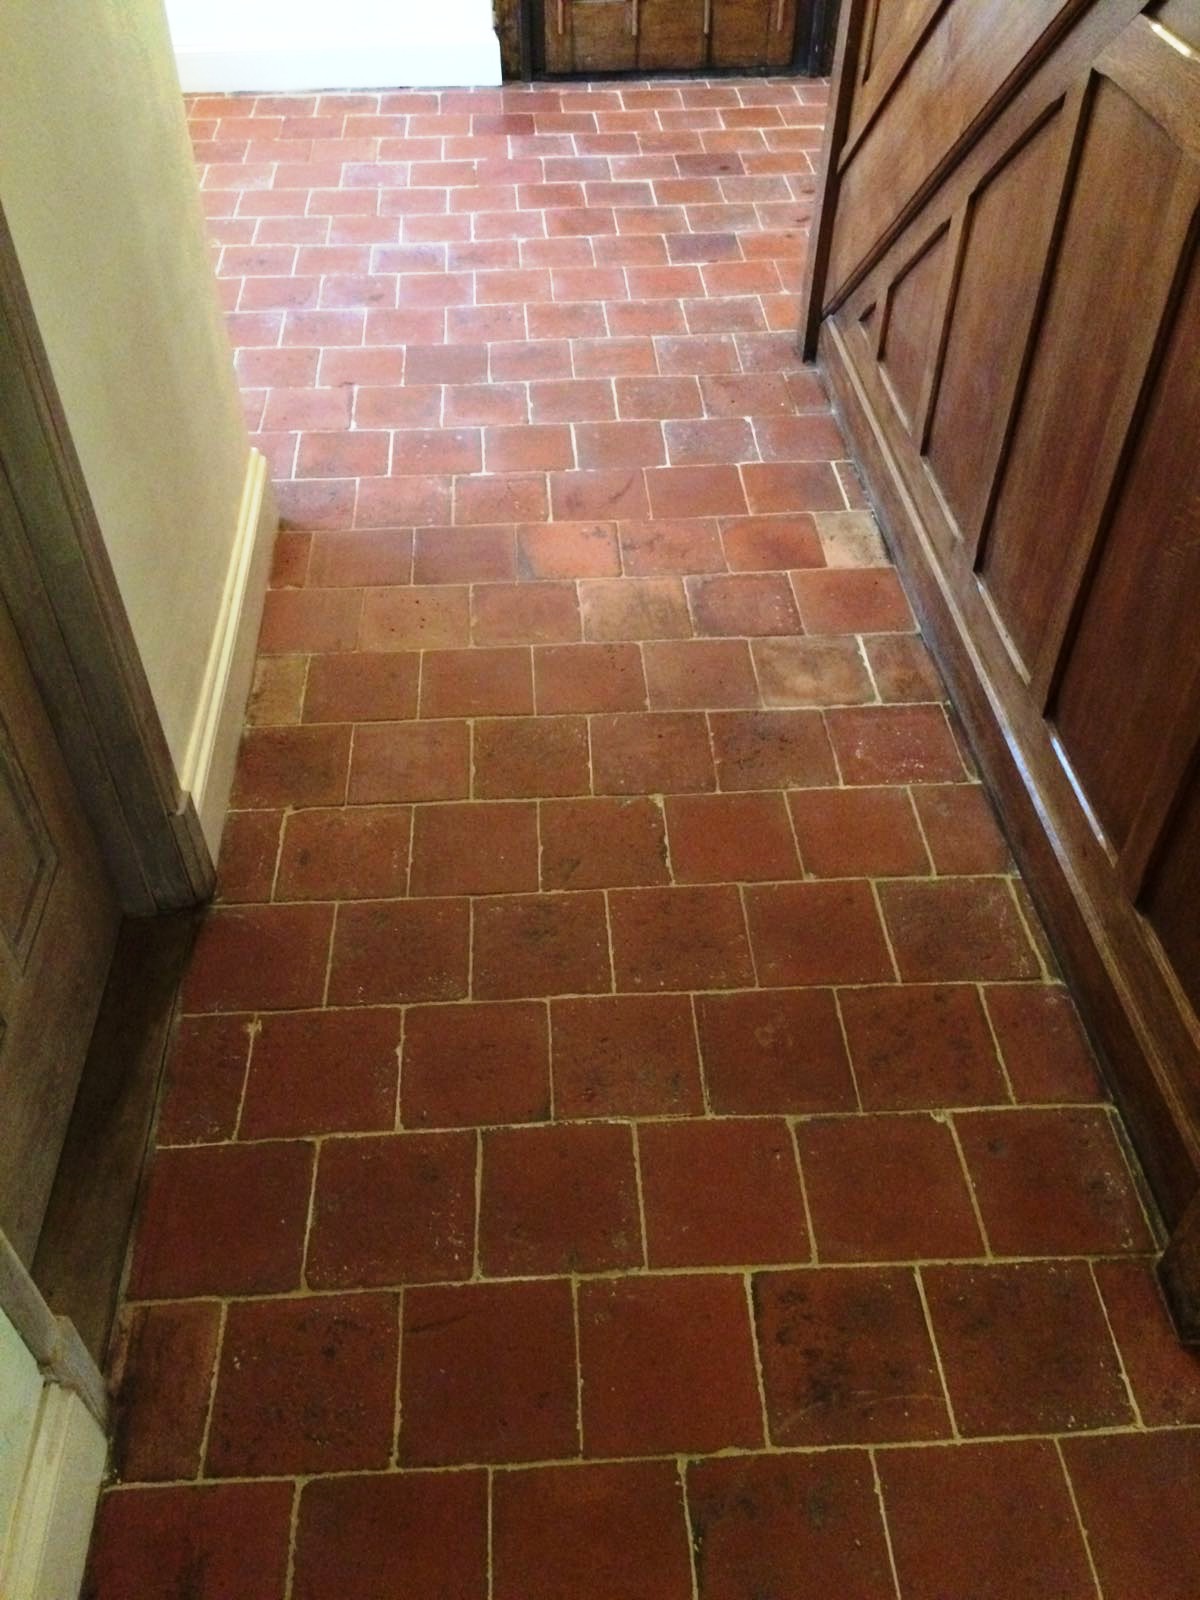
The owners of this property in Harpenden asked us to come and clean and reseal their Edwardian Tiled hallway floor and return it to its’ former glory whilst carrying out a few minor repairs to missing, broken and cracked tiles around the edge.

On visiting the property at this popular commuter town within the St Albans district, it was clear the floor was looking a little neglected and in need of some care and attention. They were keen to retain this feature of their Edwardian property. We discussed what could be done to restore the floor and the client was given a quote and a timescale for the work. They were happy to go ahead.
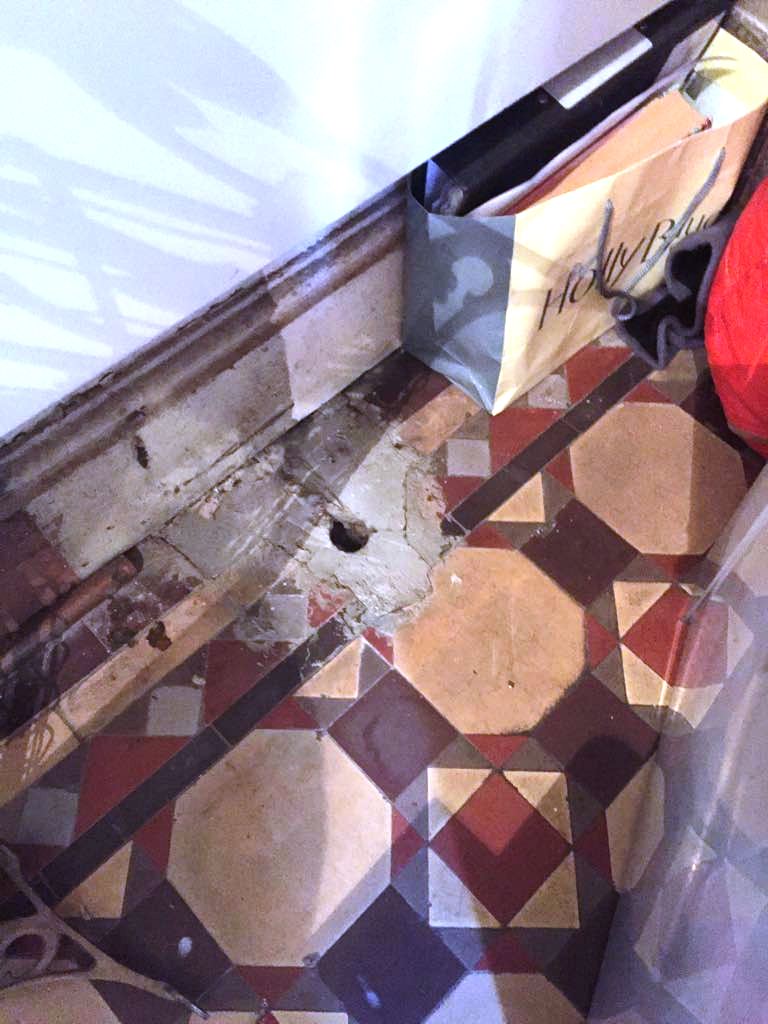
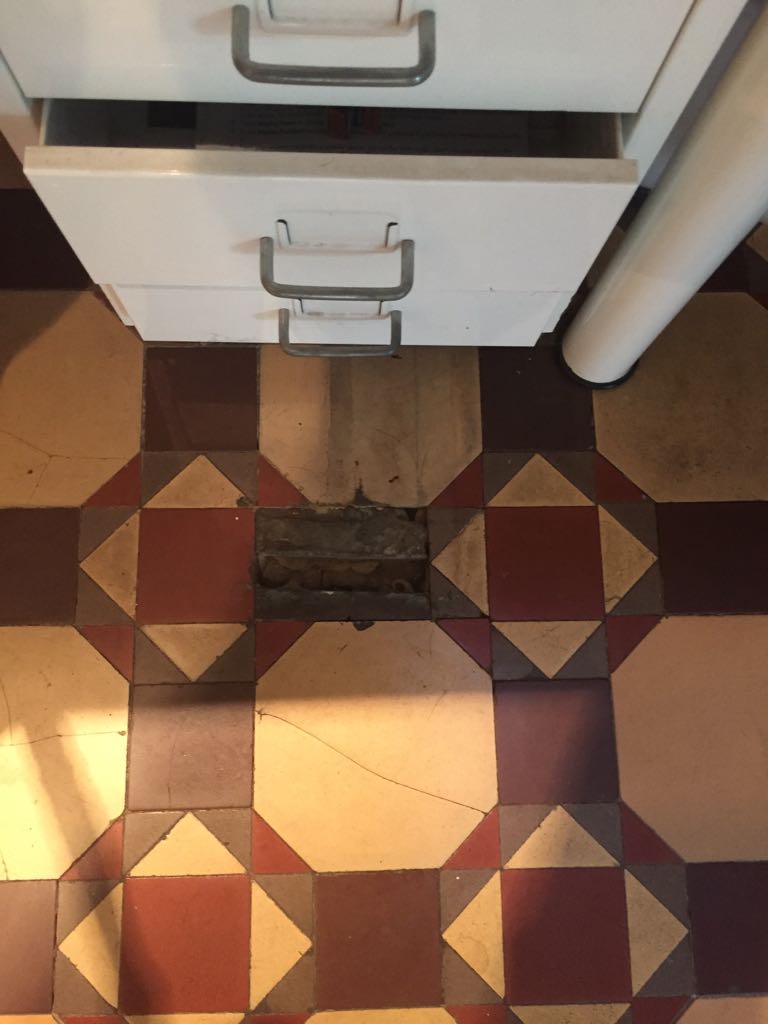
Edwardian Hallway Before Rebuild Harpenden Edwardian Hallway Before Rebuild Harpenden

Cleaning and Repairing an Edwardian Tiled Hallway Floor

The first step was to give the floor a deep clean with a strong dilution of Tile Doctor Pro-Clean. This product is designed for use on Tile, Stone and Grout and when used in a strong dilution can strip away any old sealers without harming the tile itself. The product is left to dwell on the tiles for short time and then scrubbed in using a rotary brush. We then rinsed with water to remove the slurry produced and using a wet vacuum we removed the residue.

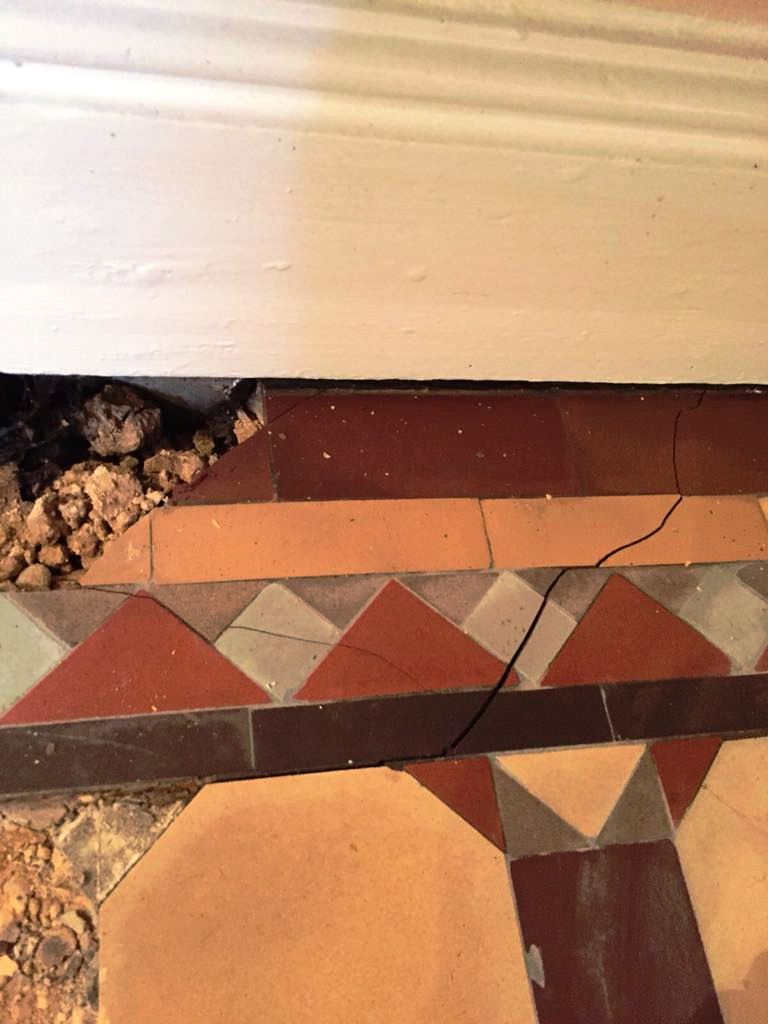
Once this was finished and with the floor looking cleaner the next step was to tackle the cracks in a few of the tiles under the stairs. This is when we discovered that the floor had become loose. When removing some of the broken tiles adjacent to the skirting we discovered a whole section of floor, about 1/3 of sqm had become loose and dropped slightly.
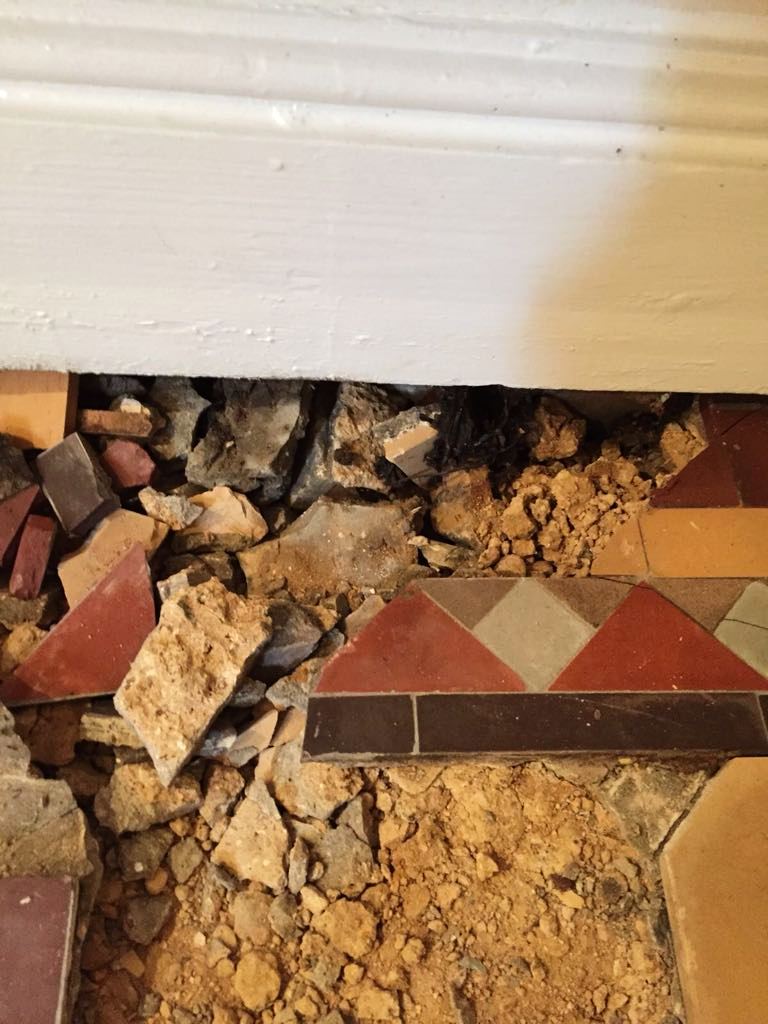
Edwardian Hallway During Rebuild Harpenden Edwardian Hallway During Rebuild Harpenden

The client was concerned with this setback and wasn’t sure what we would be able to do. However, the need not have worried, we have come across this situation before! To tackle the problem, we carefully excavated the area and re built the sub floor below the tiles in concrete. We then levelled the floor in preparation for tiling. Luckily, we were able to salvage the existing tiles and they were individually cleaned using a diamond wet cutter before being re-laid into the original pattern.
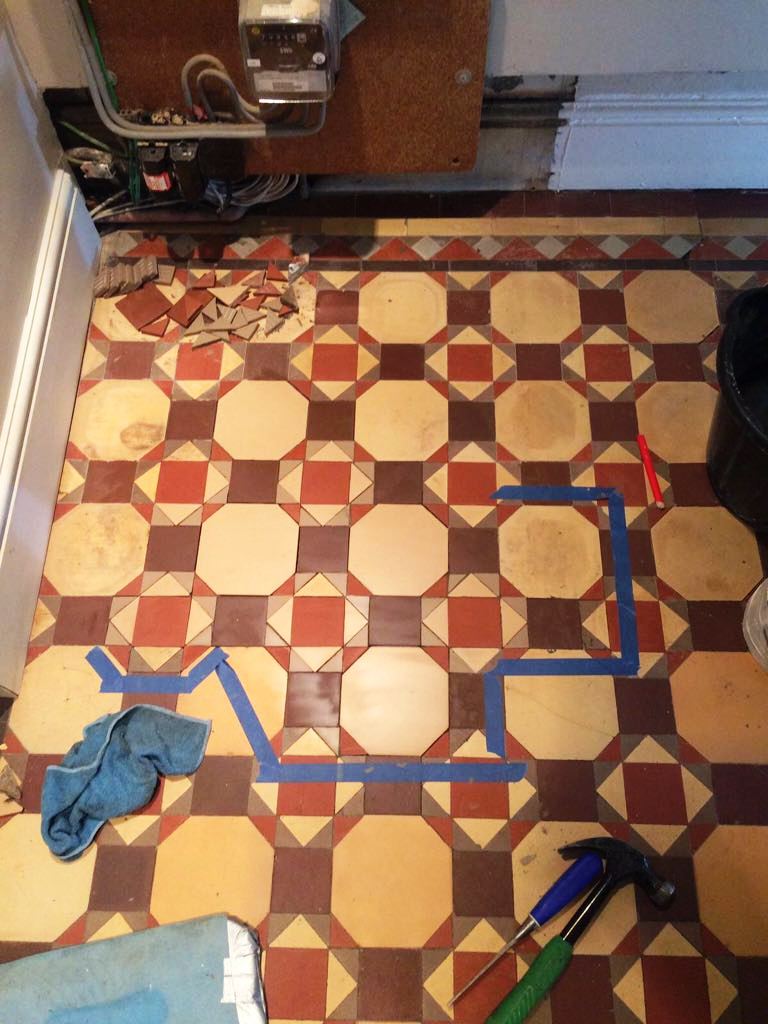
Edwardian Hallway During Rebuild Harpenden

Sealing an Edwardian Tiled Hallway Floor

With the original tiles laid back down clean and the flooring rebuilt under the stairs we re-grouted the floor before we were ready to apply a protective sealer. Before doing that however the floor needed to be dry, so we left it to dry off fully overnight.

Returning the following morning, we checked with a moisture meter that the floor was dry, which it was. Firstly, we applied a primer seal using Tile Doctor Colour Grow which is an impregnating sealer to protect the tiles and enhance their colour. Once the first coat of sealer was dry it was followed by five coats of Tile Doctor Seal & Go which adds further protection and leaves a glorious sheen.
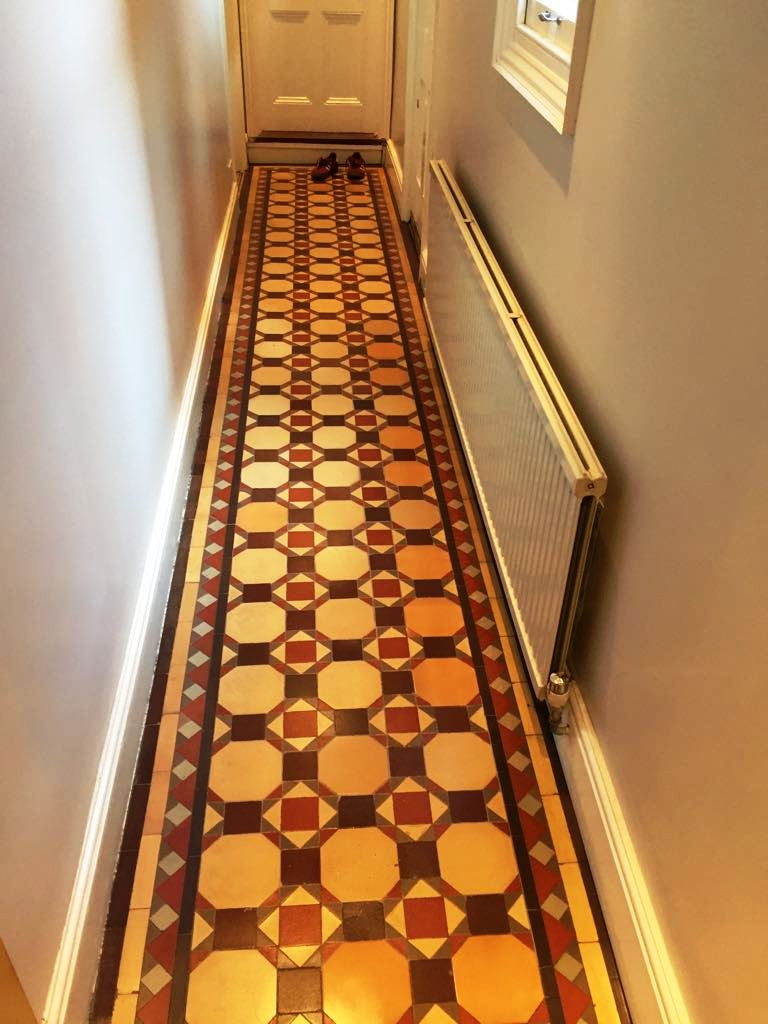
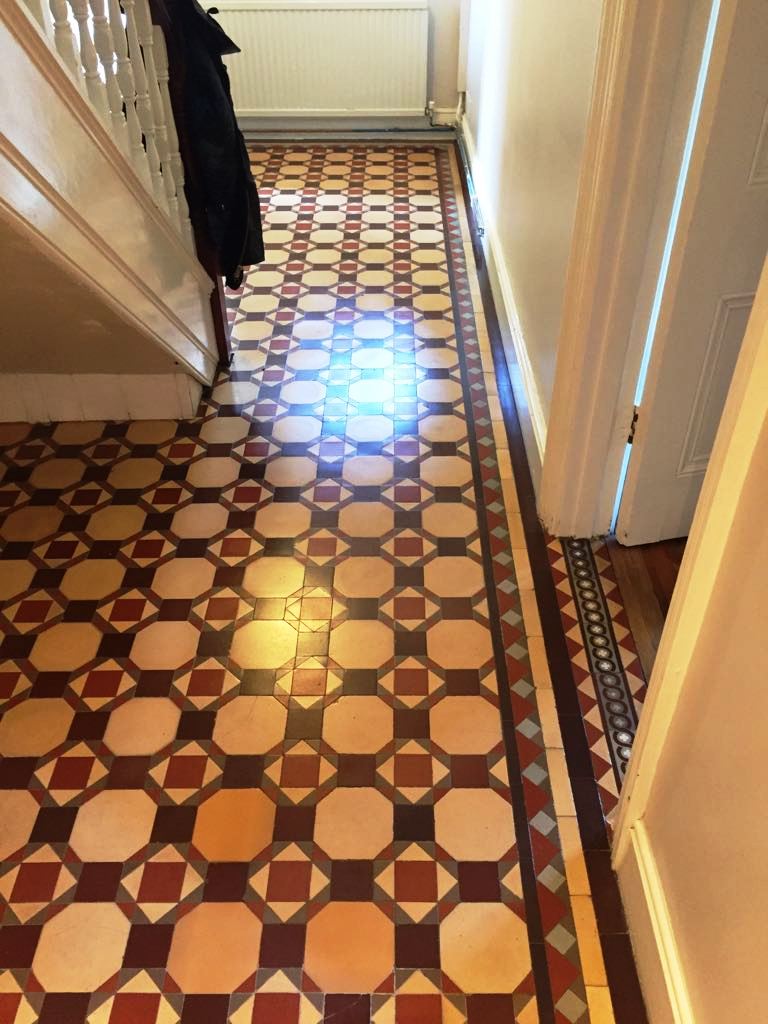
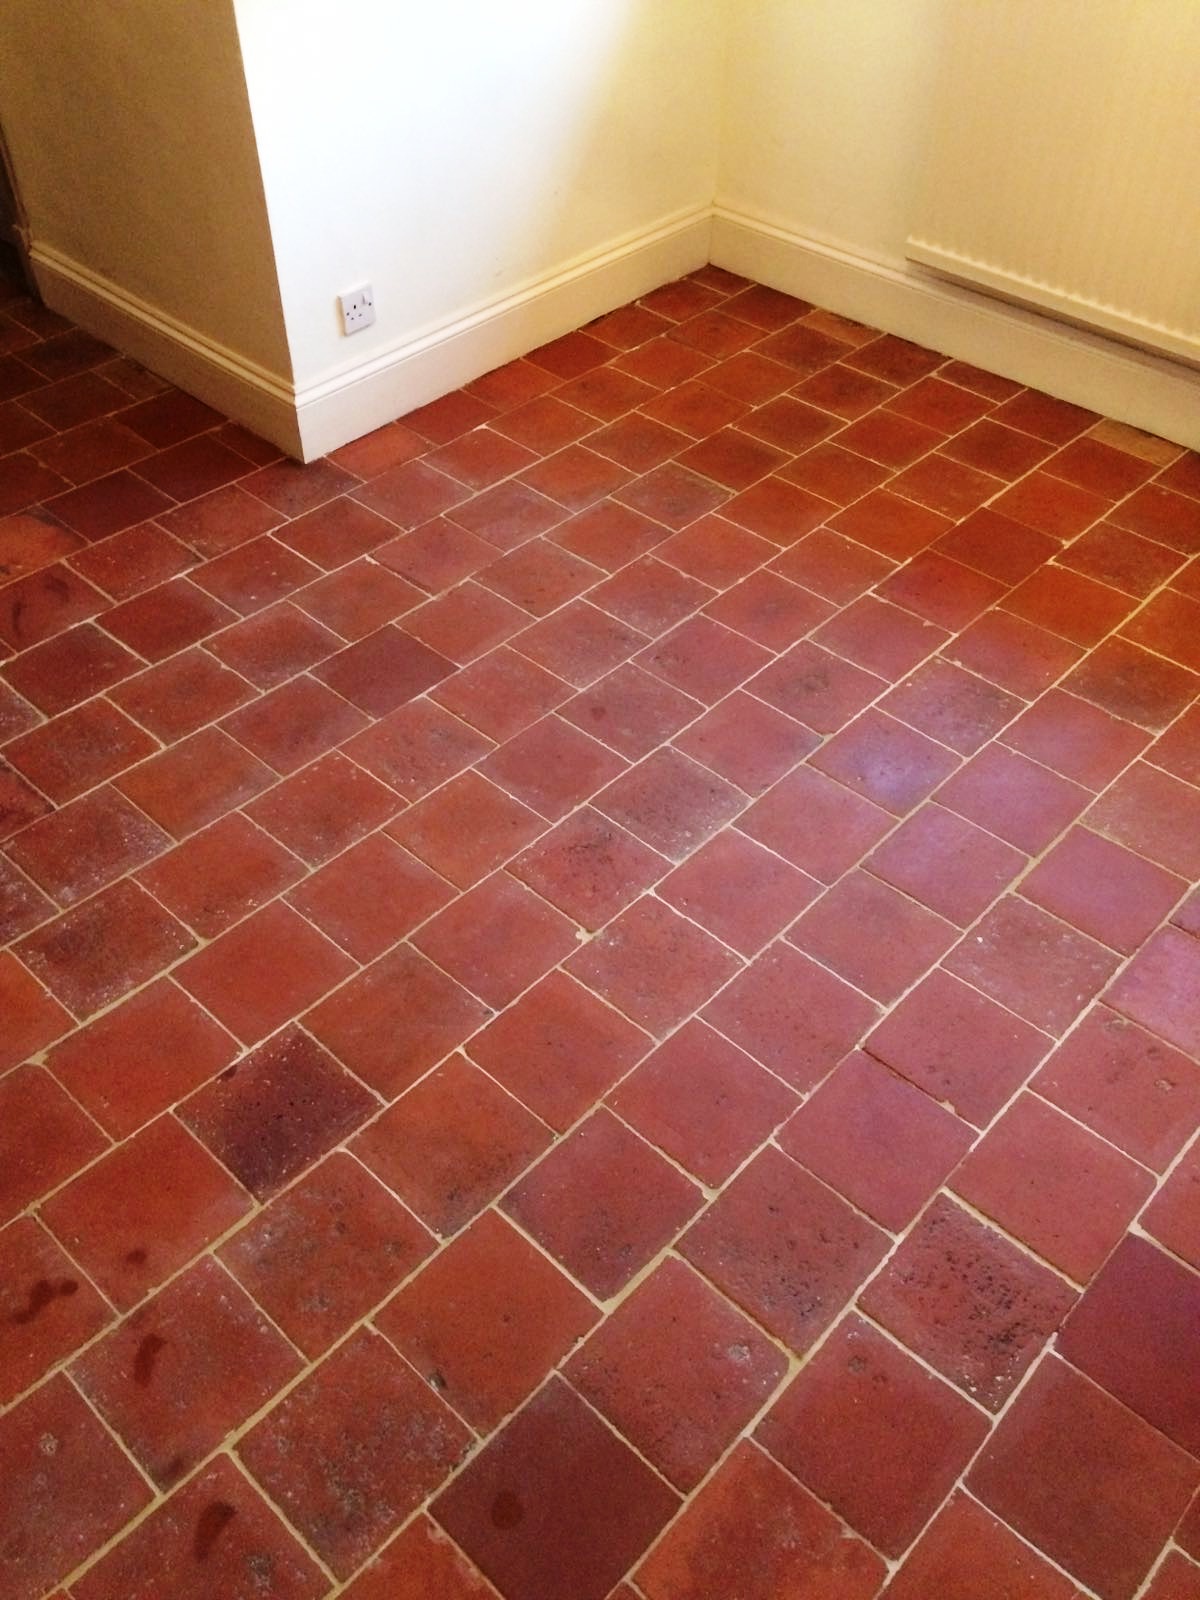
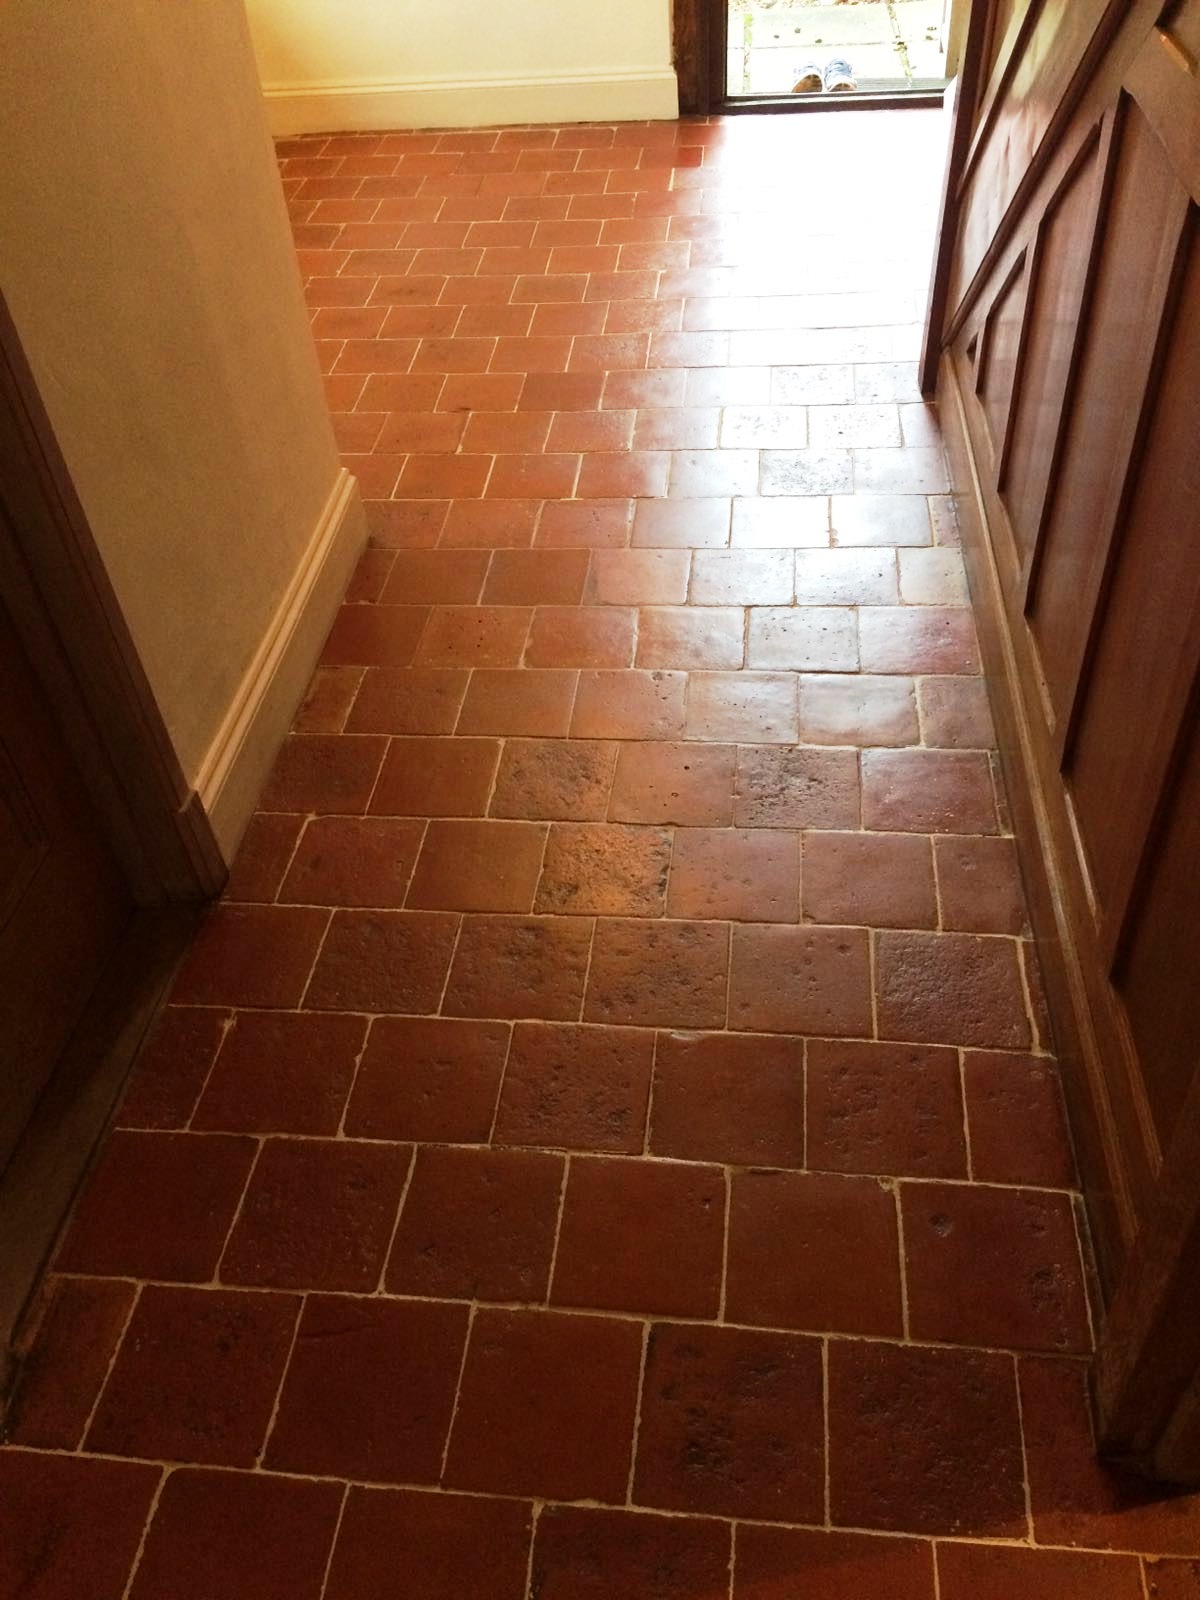
Edwardian Hallway After Rebuild Harpenden Edwardian Hallway After Rebuild Harpenden

The floor looks amazing and the client was over the moon with the end result. It far exceeded their expectations particularly after finding an area of the floor had collapsed.
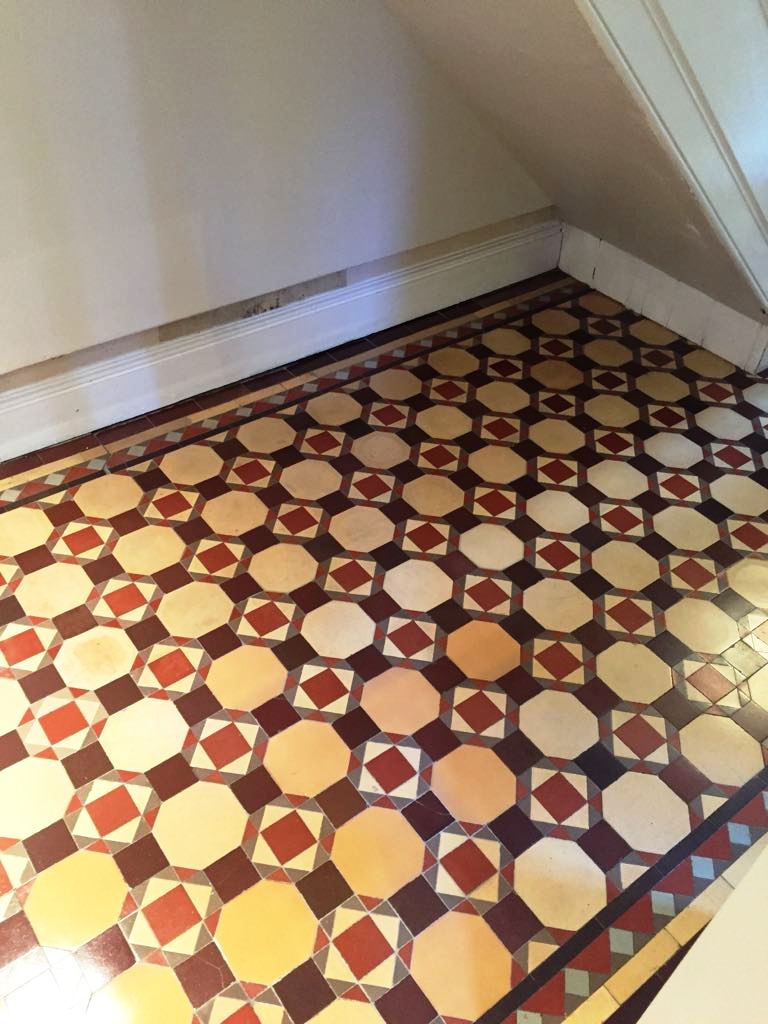
Edwardian Hallway After Rebuild Harpenden


Restoration of an Edwardian Tiled Hallway in Hertfordshire

Edwardian Tiled Hallway Rebuilt and Restored in Harpenden Read More »

Stained Quarry Tiles Before After Renovation Hitchin

Stained Quarry Tiled Hallway Floor Restored in Hitchin

Details below of a small Quarry Tiled floor we deep cleaned which included a lobby and adjacent toilet. The property was located in Hitchin which is a market town in North Hertfordshire it is notable for St. Mary’s Church, which is remarkably large for a town of its size.

Quarry Tiled Entrance Lobby Restoration Hitchin Before Cleaning

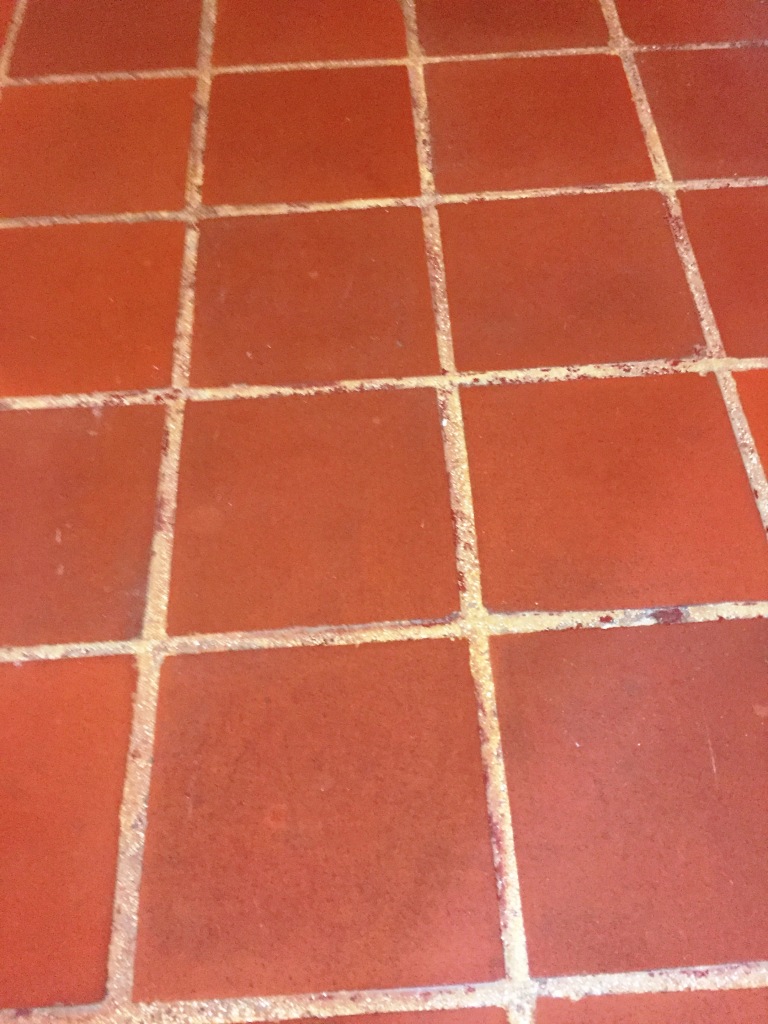
The tiles were in good physical condition, but were looking a little tired, they just needed a good clean and seal. Also, if you look closely at the photographs you will see the grout was stained with the remains of some red paint which needed to be removed.

Quarry Tiled Entrance Lobby Restoration Hitchin Before Cleaning Showing Paint Staining

They had tried some household solutions but had not managed to remove the marks and the floor had lost its’ sheen. We discussed the process, agreed a price and I arranged a date to return and carry out the work.

Quarry Tiled Entrance Lobby Restoration Hitchin Before Cleaning

On our return our first task was to prepare the areas with protective tape to threshold edges surrounding the floor, adjacent doors and anywhere that we didn’t want our solutions to touch.

The paint stains were spot treated using a strong dilution of Tile Doctor Remove and Go which was scrubbed into the grout by hand. This is a multi-purpose stripper made with a long dwell-time to remove most coatings and sealers, but particularly good on paints. It is also the perfect product to draw out ingrained stains and remove any heavy grease build-up.

Then the tiles and grout were cleaned using Tile Doctor Pro-Clean, this one is a concentrated, multi-purpose high-alkaline cleaner, stripper and degreaser. Dependent on the needs of the tiles we dilute it to suit. We usually dilute with 3 to 5 parts water to use as a very effective cleaner that removes grease, from areas that have been neglected or subjected to heavy use. Alternatively, and as in this situation, we diluted with 2 parts water to strip the synthetic and acrylic waxes that had built up on the floor over the years.

The entrance and porch were then wet vacuumed, and the water rinsed, then allowed to dry off overnight ahead of the sealing process the following day.

Sealing a Quarry Tiled Hallway Floor

On returning to the property the following day, I used a moisture meter to ensure the floor was completely dry and ready for the next stage. Once satisfied I started to apply a single coat of Tile Doctor Colour Grow this is an impregnating sealer which is applied to protect the tiles and offers a durable surface whilst enhancing their natural colour. Finally, to complete, this was followed by three coats of Seal and Go to add a lasting protective seal and a low sheen durable finish.

Quarry Tiled Entrance Lobby Restoration Hitchin After Cleaning

The client was very happy with the completed floor, it had brightened up the whole area, particularly the downstairs cloakroom. She was also pleased it was now going to be easier to maintain and keep clean and she had finally got rid of the offending red paint!

Quarry Tiled Entrance Lobby Restoration Hitchin After Cleaning


Professional Restoration of Quarry Tiled Hallway in Hertfordshire

Stained Quarry Tiled Hallway Floor Restored in Hitchin Read More »

Old Quarry Tiles Before and After Cleaning Hemel Hempstead Farmhouse

18th Century Quarry Tile Renovation near Hemel Hempstead

The photographs below are of a very old Quarry Tiled hallway floor taken at a beautiful 18th century farmhouse near Hemel Hempstead; the floor was believed to be original and the customer wanted it repaired and restored.

Old Quarry Tiles Before Cleaning Hemel Hempstead Farmhouse

Deep Cleaning 18th Century Quarry Tiles

Before starting the cleaning process we made sure to protect any vulnerable areas such as the oak panelling on the staircase and then set about repairing the broken tiles which were replaced with matching reclaimed quarry tiles.

Old Quarry Tiles Before Cleaning Hemel Hempstead Farmhouse
Once the replacements and new grout had set we made a start on deep cleaning the Quarry tiles and removing remaining old stubborn waxes and polishes by applying Tile Doctor Remove & Go combined 50:50 with Tile Doctor Nano-Clean which combine to form a very effective stripper and cleaner. The solution was left to soak into the tile for a good ten minutes before being scrubbed in with detail brushes and scrubbing pads fitted to a rotary machine.

The resulting soiled solution was rinsed off with water and extracted using a wet vacuum which allowed us to see the underlying condition of the tiles which indicated more work was required especially to the grout. To get the grout looking cleaner it was treated with a strong dilution of Tile Doctor Pro-Clean which was then scrubbed into the grout manually using a stiff grout brush; the soiled cleaning solution was then rinsed off and extracted using a wet vacuum and then the whole floor was given a further rinse and also a steam clean to remove any trace of product.

Old Quarry Tiles During Cleaning Hemel Hempstead Farmhouse Old Quarry Tiles During Cleaning Hemel Hempstead Farmhouse

Sealing 18th Century Quarry Tiles

It’s essential that tiles are bone dry before sealing so we left the floor to dry for a full seven days before returning. To get the best out of the floor I decided to seal the floor with two different but compatible sealers; first a single coat of Tile Doctor Colour Grow was applied which is an impregnating sealer that restores colour to the tile and protects it from stains by occupying the pores in the clay.

Once the Colour Grow had dried it was followed with six coats of Tile Doctor Seal and Go Extra which is a special acrylic based formula that promotes moisture vapour transmission which is essential for these old floors where no damp proof course was installed.

Old Quarry Tiles After Cleaning Hemel Hempstead Farmhouse
I’m pleased to say the restoration went very well and as you can see the quarry tiled hallway floor now looks fantastic.

Old Quarry Tiles After Cleaning Hemel Hempstead Farmhouse
 

Professional Restoration of 18th Century Quarry Tiles in Hertfordshire

18th Century Quarry Tile Renovation near Hemel Hempstead Read More »

Before and After Slate floor restoration with new grout

St Albans Slate Floor Renovation

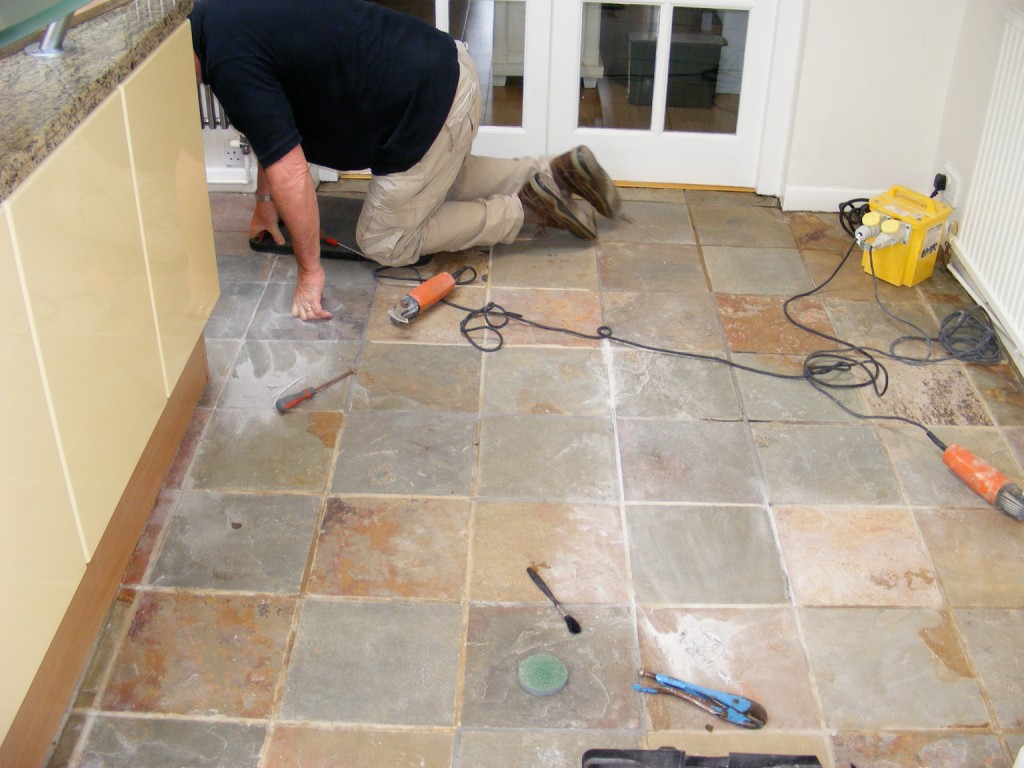
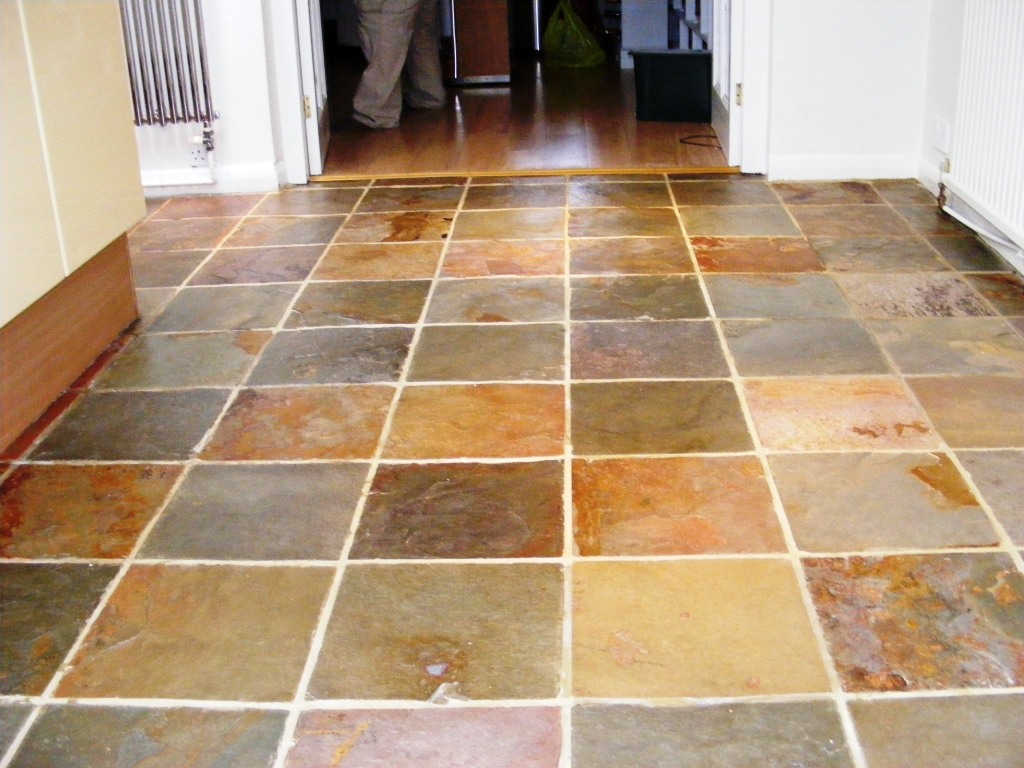
The Slate floor in the kitchen and conservatory of a house in St. Albans was laid around five to six years old and now required deep cleaning and re-sealing. Previously a grout repair had been carried out but unfortunately after the initial clean the grout applied was the wrong colour and needed to be replaced.

Slate floor before restoration

Cleaning the Slate Floor

The Slate floor was pre-cleaned using a diluted solution of Tile Doctor Pro-Clean mixed with Nanotech Ultra-Clean scrubbed with a buffing machines fitted with a polypropylene brush running at a slow speed. The dirty solution was removed using a wet vacuum, floor rinsed with clean water and left to dry.

It’s not a good idea to apply new sealer on top of a different product so it was necessary to ensure all the old sealer had been completely removed. Sealers are by nature stubborn to remove so it was necessary to apply Remove & Go (a product designed for the removal of sealers) which we left to dwell on the surface for an hour. Often a strong solution of Pro-Clean is sufficient but not in this case.

The dirty solution was removed with the wet vacuum and rinsed with water to remove any residues and neutralise the floor.

Removing Grout

To remove the grout we used a specialist “Oscillating Grout Tool”, if there was a large area to do we would normally recommend the user of an epoxy Grout Colourant however there wasn’t a great deal to remove so it was quicker to cut out the offending Grey grout and replace with a matching sandstone.

Grout removal and repair Cutting out with an Oscillating grout tool

Sealing the Slate Floor

We sealed the floor with a single coat of Tile Doctor Colour Grow which really helps bring out the deep colour from the slate. To finish and build up the lustre and richness of the colour we then applied seven coats of Seal & Go.

Finished Slate floor with new grout
All of the job took two full days and was ready for soft foot traffic after two hours of completion and fully dry in 24 hours. For maintenance we recommended the use of Tile Doctor Neutral Cleaner, diluted 1:30 with water and applied with a microfibre flat mop, rinse with water and then remove with a clean microfibre flat mop.

The customer was very pleased with the results and left the following comment:

We are delighted with the results achieved by the Tile Doctor on our slate floor. It looks like we have laid a completely new floor in our kitchen and conservatory! Rob was a true professional and we would thoroughly recommend the Tile Doctor to anyone considering using their services

Ms. S. Hiller, St Albans, Hertfordshire


Slate Floor Renovation in St. Albans

St Albans Slate Floor Renovation Read More »

Mexican Terracotta Before and After cleaning

Cleaning Mexican Terracotta Tiles, St Albans

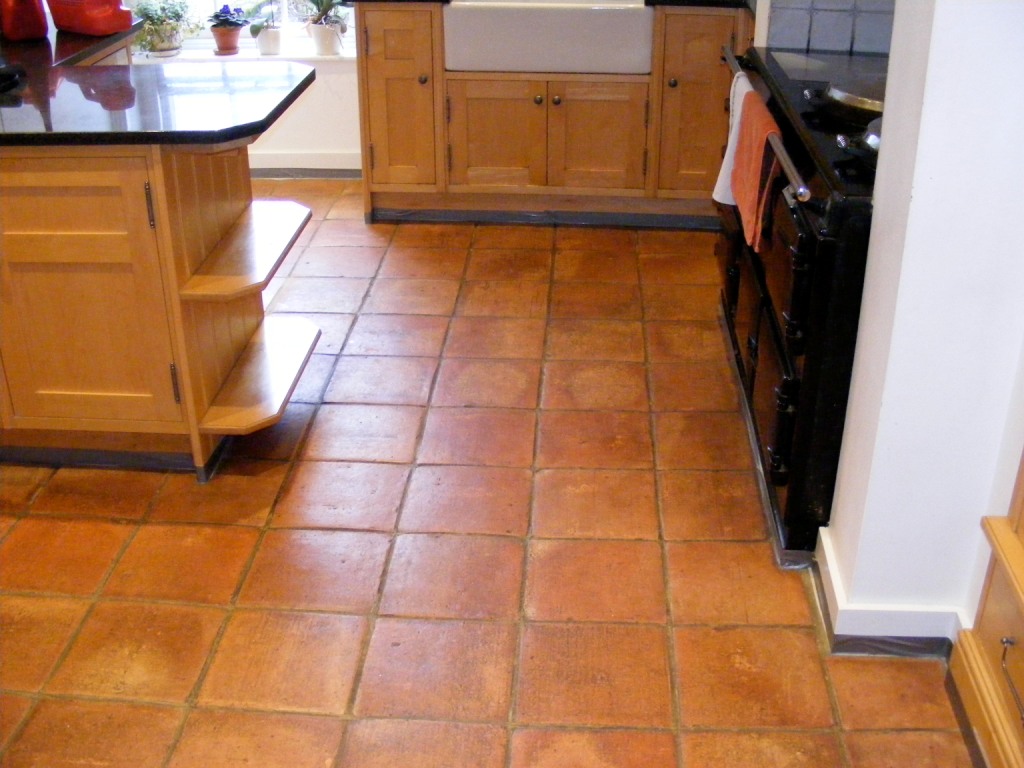
Mexican Terracotta tiled floor laid several years ago in the kitchen of a property in Wheathampstead near St Albans. It had originally been laid and sealed in the classic method with a wax and was becoming increasingly impossible to clean.

Mexican Terracotta before prepped for cleaning

Cleaning Mexican Terracotta Tiles

We started the cleaning process using a solution of Tile Doctor Pro-Clean in order to remove excess dirt and soil from the surface of the tile. This was followed by the application of Tile Doctor Remove and Go combined 50/50 with NanoTech Ultra Clean agitated with a brush fitted to a scrubbing machine running at slow speed. This worked to breakdown and remove the remaining wax sealer returning the Mexican Terracotta back to its original condition. The resulting solution was rinsed off with water and a cleaned with Neutral Tile cleaner followed by two further water rinses. A wet vacuum comes in very useful at this point for removing the liquids from the floor.

Mexican Terracotta Cleaning and wax removal Mexican Terracotta After cleaning ready for sealing

Sealing Mexican Terracotta Tiles

We left the floor to dry and returned some days later to seal. We started this process with a single coat of Tile Doctor Colour Grow which really helps to bring out the colour in the tile followed by six to seven coats of Tile Doctor Seal and Go. Terracotta is by its nature a very porous tile and so it’s not unusual for it to need seven coats.

Cleaned and Sealed Mexican Terracotta floor

Cleaning Mexican Terracotta Tiles in St. Albans

Cleaning Mexican Terracotta Tiles, St Albans Read More »

Natural Slate Path Cleaned and Sealed

Cleaning Natural Slate Paving

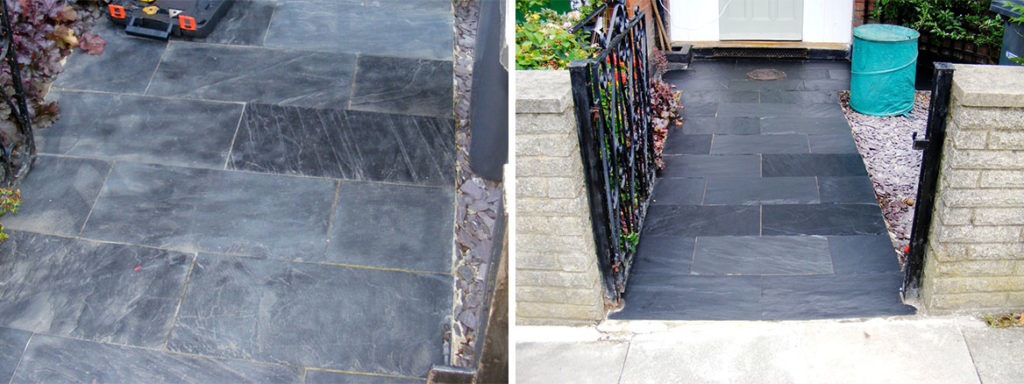
We were asked to take a look at a natural slate paving leading up to the entrance of a lovely old residence in North London. The slate path had only been recently laid, grouted and sealed and the owner was not best pleased with the results and a request was made to remedy the situation and return the slate back to its natural colour and appearance.

Natural Slate Path Before Cleaining Natural Slate Path Before Cleaining

We carried out a series of tests to ensure we could remove both the sealer and grout haze from the surface of the tile. It’s not a good idea to apply a different sealer on top of an existing product as the end results will be inconsistent and the products maybe incompatible. We cleaned up the tile, sealed it and left it to weather for a few days to demonstrate to the customer the durability of the finish.

Natural Slate Path Pre-testing Natural Slate Path Pre-testing

Cleaning Natural Slate Paving

All was well with the test and we got the green light to do the whole slate path. We started by cleaning the path with Tile Doctor Pro-Clean which was then washed off and allowed to dry. We then applied Tile Doctor Remove and Go mixed 50/50 with Tile Doctor NanoTech Ultra Clean; this is a really powerful combination which we left to dwell on the tile for an hour in order to soften up the current sealer and ingrained dirt. The solution was then removed and the slate tile washed down with more water.

Natural Slate Path Mid-Process
With the sealer removed we tackled the Grout Haze by using Grout Clean Up and a fair amount of elbow grease with stainless steel and polypropylene detail brushes.

Last step before sealing was to neutralise the floor with another rinse down, this time washing the tile with Tile Doctor Neutral Cleaner, it’s important that any remaining chemical is removed from the surface otherwise it may upset the sealer.

Sealing Natural Slate Paving

Finally once the slate had dried, we applied 3 coats of Tile Doctor Colour Grow and buffed off the last coat with a buffing pad to bring out the deep colour from within the Slate; the sealer was fully dry and path ready for normal use 12 hours. For maintenance we recommend using Tile Doctor Neutral Cleaner, diluted 1 to 30 with water applied with a microfibre flat mop, rinse with water and dry with second microfibre mop. The customer was very happy with the results and left the following message:

Robert’s communication was excellent and he always kept us informed on what to expect and the timescales involved. He was very reliable and punctual and the quality of his work was to a very high standard. We were very pleased with his work and overall service.
Mr. M. Vaughan, Alexandra Park, London

Natural Slate Path Cleaned and Sealed

Cleaning Natural Slate Paving in North London

Cleaning Natural Slate Paving Read More »

Scroll to Top